Dual-core Tensilica LX6 ESP32-S SoC with 2.4GHz WiFi (802.11 b/g/n) and Bluetooth/BLE
In stock
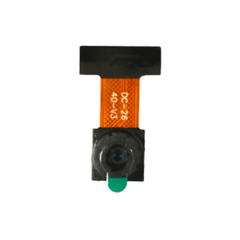
Camera Modules
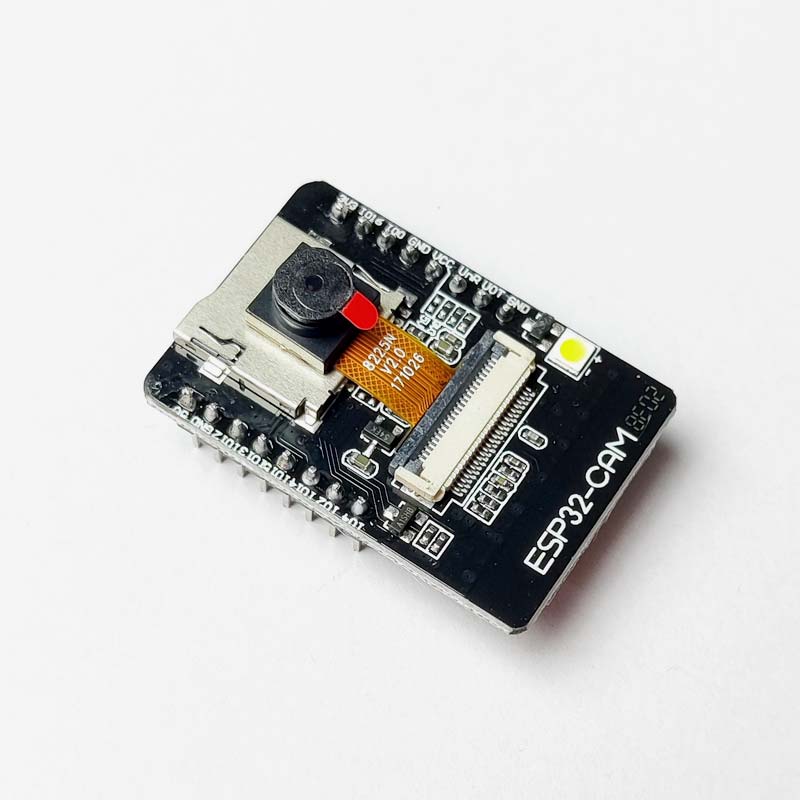
ESP32-CAM Development Board with OV2640 Camera
ESP32-based WiFi+Bluetooth board with 2MP OV2640 camera and microSD slot for low-cost video/image capture and IoT vision projects.
₹450 + 18% GST
SKU: BOTBIT-IOT-01 · Best for: WiFi video streaming / DIY IP camera and video doorbell
Overview
About ESP32-CAM Development Board with OV2640 Camera.
The ESP32-CAM by Ai-Thinker is a tiny, low-cost camera board that combines a dual-core ESP32-S chip (WiFi + Bluetooth) with a 2-megapixel OV2640 camera and a microSD card slot. For roughly Rs 450 it packs an entire wireless camera system onto a board smaller than a matchbox, which is why it has become the default choice for hobbyists building video doorbells, WiFi CCTV, and vision projects in India.
Its popularity comes from the price-to-capability ratio: you get streaming MJPEG video, still-image capture to SD card, and enough compute to run lightweight face detection and simple TinyML models, all programmable through the familiar Arduino IDE. There is a strong ecosystem of ready-made sketches (CameraWebServer example, ESP32 face recognition) so beginners can get a live stream running within an hour.
One thing every buyer must know: the ESP32-CAM has no onboard USB port. You program it using a separate USB-to-TTL (FTDI/CP2102) adapter or the popular ESP32-CAM-MB programmer shield. Factor that into your order if you do not already own one.
Key features
Why it stands out.
2MP OV2640 camera sensor supporting resolutions up to 1600x1200 (UXGA), with JPEG output
Onboard microSD/TF card slot for saving captured images and video locally
4MB external PSRAM enabling higher-resolution framebuffers and smoother streaming
Onboard bright white LED flash (GPIO4) plus a small red status LED
Programmable via Arduino IDE, ESP-IDF or MicroPython using an external USB-TTL adapter
Specifications
Selection facts.
| SoC | ESP32-S (Tensilica dual-core LX6, up to 240MHz) |
|---|---|
| Wireless | WiFi 802.11 b/g/n 2.4GHz + Bluetooth 4.2/BLE |
| Camera | OV2640, 2MP, up to 1600x1200 (UXGA) |
| SRAM / PSRAM | 520KB internal SRAM + 4MB external PSRAM |
| Flash | 4MB SPI flash |
| Storage | microSD (TF) card slot, up to 4GB recommended |
| Operating voltage | 5V input (recommended for camera stability); 3.3V logic |
| USB | None onboard — requires external USB-TTL programmer |
| GPIO | Limited broken-out GPIO (many shared with camera/SD) |
| Dimensions | Approx 27 x 40.5 x 4.5 mm |
Applications
Where it is used.
- WiFi video streaming / DIY IP camera and video doorbell
- Time-lapse and motion-triggered image capture to SD card
- Face detection and simple face recognition access control
- Wildlife / nest / pet monitoring cameras
- TinyML and edge vision experiments (person detection, QR reading)
- Home automation dashboards that need a live camera feed
Buying guide
How to choose.
Buy the ESP32-CAM if you want the cheapest possible way to add a camera and WiFi to a project and you are comfortable using the Arduino IDE. It is ideal for students, makers and prototypers building monitoring, observation or vision-based IoT gadgets.
Because the board has no USB port, pair it with a USB-to-TTL adapter (CP2102 or FTDI) or, more conveniently, an ESP32-CAM-MB programmer shield that adds a micro-USB port and a program button. A stable 5V supply is important — camera brownouts and 'Camera init failed' errors are almost always caused by weak USB power.
For heavier vision workloads consider that this board runs warm and has limited free GPIO. If you need more IO and a built-in USB port, the standard ESP32 DevKit is a better base and you can attach a separate camera; but for a compact all-in-one camera node, the ESP32-CAM remains unbeatable on price.
FAQ
Common questions.
Does the ESP32-CAM have a USB port to program it directly?
No. There is no onboard USB. You need an external USB-to-TTL adapter (CP2102/FTDI) or an ESP32-CAM-MB programmer board. Connect the adapter's TX/RX to the board's U0R/U0T, ground IO0 to GND to enter flash mode, then release it to run.
Which Arduino board setting and library do I use?
Install the ESP32 boards package in Arduino IDE, select 'AI Thinker ESP32-CAM' as the board, and use the built-in 'CameraWebServer' example under ESP32 > Camera. The esp_camera library ships with the ESP32 core, so no extra install is needed.
Why do I get 'Camera init failed' or 'Brownout detector' errors?
This is almost always insufficient power. Use a solid 5V supply through the 5V pin (not weak 3.3V), keep wires short, and avoid powering the camera from a laptop USB hub. A separate 5V/1A supply usually fixes it.
What SD card size does it support?
It works reliably with microSD cards up to about 4GB formatted as FAT32. Larger cards sometimes fail to mount. The SD slot shares pins with some GPIOs, so certain pins are unavailable when the card is in use.
Is it available in India and what is in the box?
Yes, it is widely stocked across Indian electronics stores. A standard package includes just the ESP32-CAM board with the OV2640 camera module attached. The USB-TTL programmer is usually sold separately unless you buy a bundle.
More in IoT & Wireless
Related hardware.
Wifi Ble
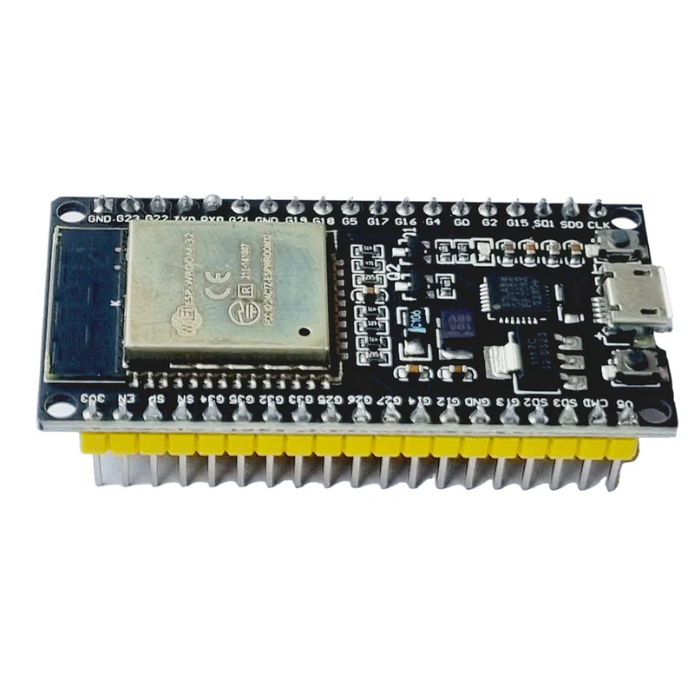
ESP32 WROOM-32 38-Pin Development Board (DevKit V1)
Dual-core ESP32-WROOM-32 board with WiFi and Bluetooth, 38 pins and USB-UART; the workhorse MCU for most Indian IoT projects.
₹320 + 18% GST
Wifi Ble
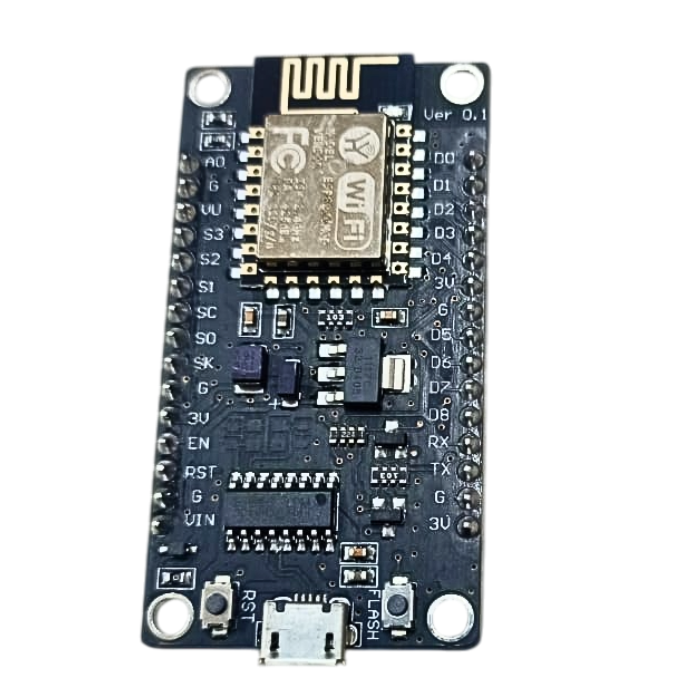
NodeMCU ESP8266 WiFi Development Board (V3 Lolin CH340)
Low-cost ESP8266 WiFi board with CH340 USB, breadboard-friendly; extremely popular entry point for WiFi-connected sensor projects.
₹180 + 18% GST
Wifi Ble
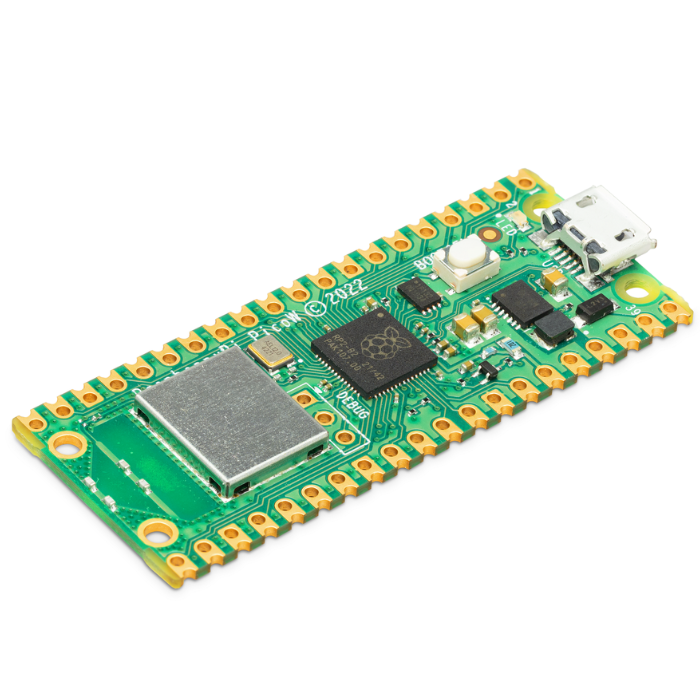
Raspberry Pi Pico W (Wireless RP2040 Microcontroller)
Official RP2040 dual-core microcontroller board with onboard 2.4GHz WiFi, programmable in MicroPython/C for IoT and hotspot applications.
₹650 + 18% GST
Wifi Ble
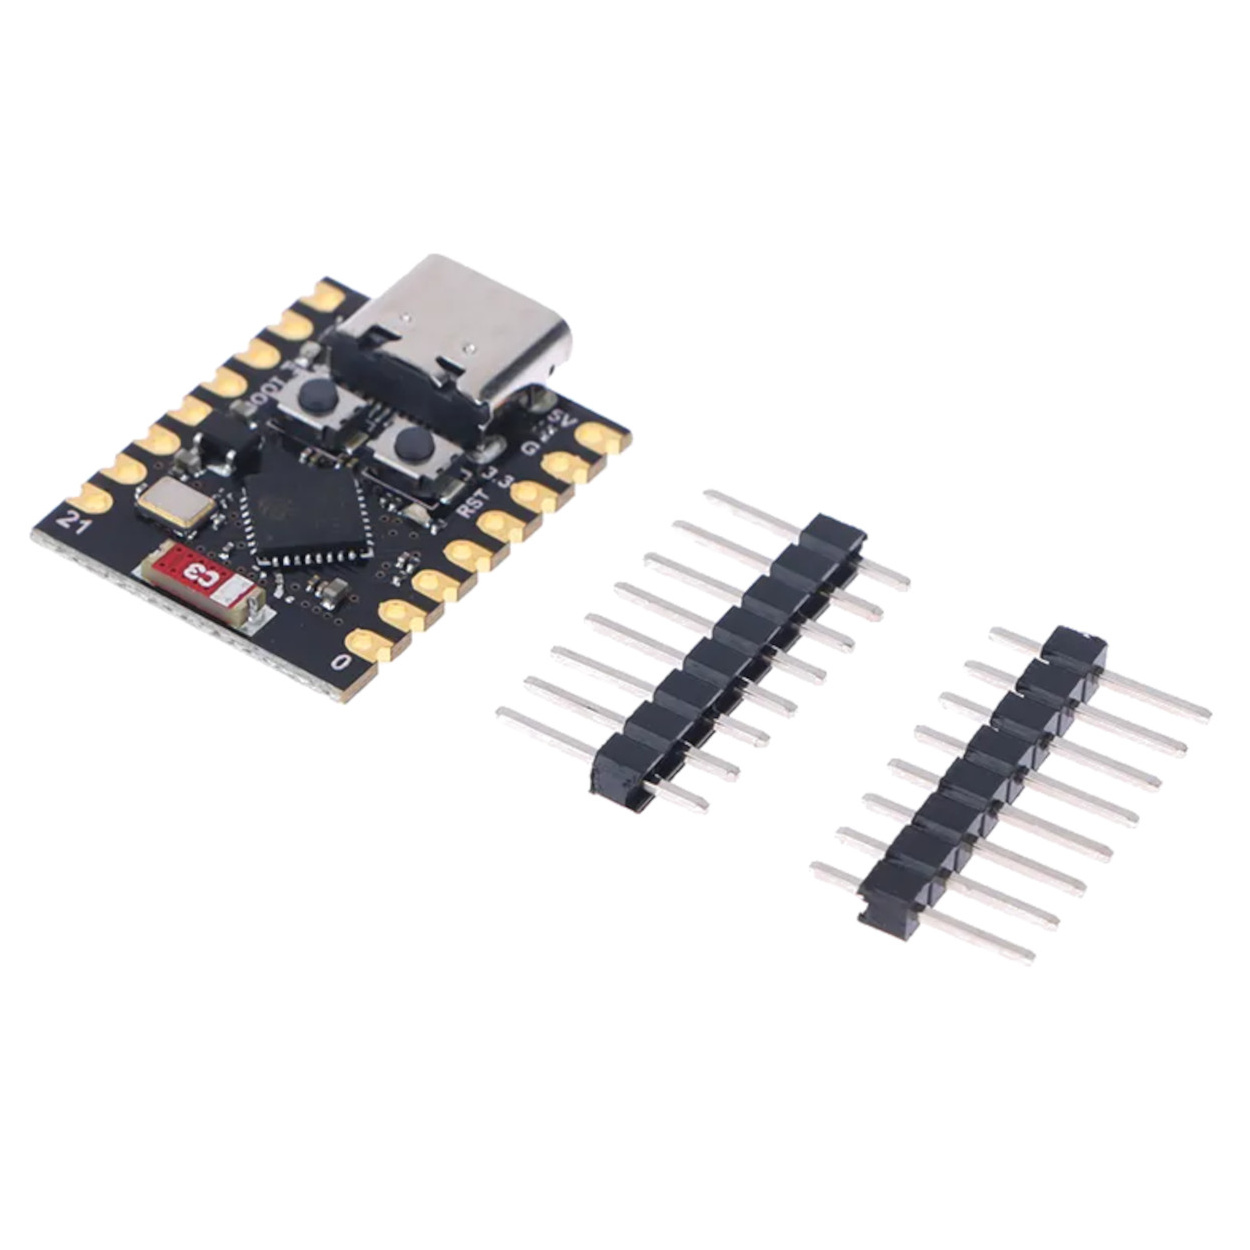
ESP32-C3 SuperMini Development Board
Ultra-compact RISC-V single-core ESP32-C3 board with WiFi and Bluetooth 5.0 (LE) and USB-C, ideal for space-constrained IoT builds.
₹280 + 18% GST
You may also need
Pairs well with.
Arduino Boards
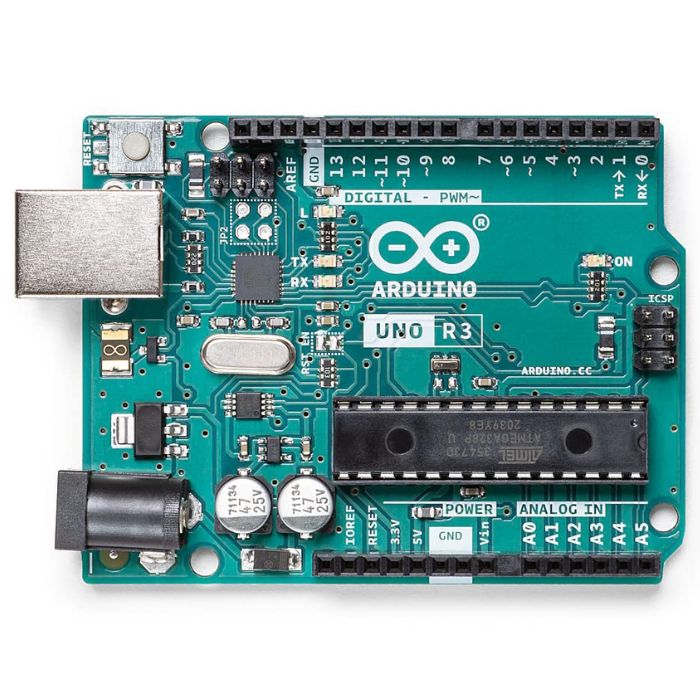
Arduino Uno R3
The classic ATmega328P 8-bit microcontroller board, a popular beginner prototyping platform with 14 digital and 6 analog I/O pins.
₹799 + 18% GST
Breadboards Jumpers
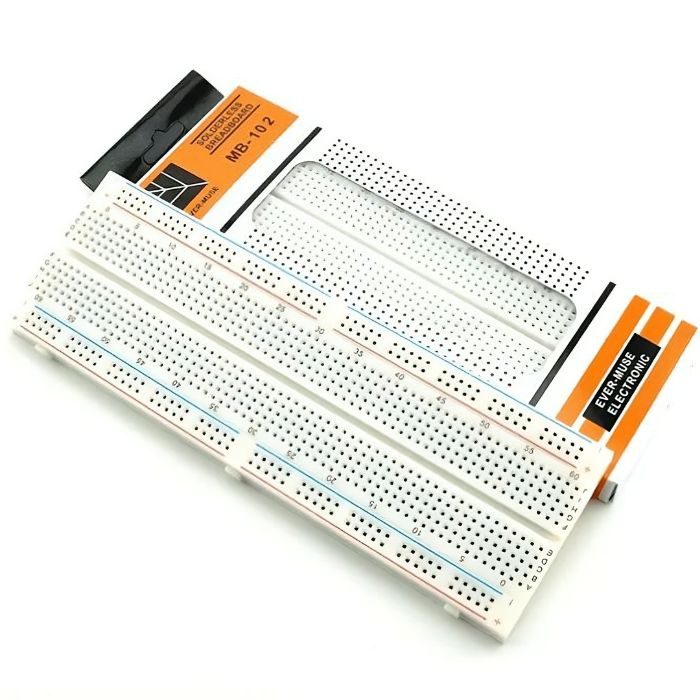
MB102 830 Points Solderless Breadboard
Full-size 830 tie-point solderless prototyping breadboard with power rails, accepts 20-29 AWG wire.
₹90 + 18% GST