TP4056 linear charger with fixed 4.2V CV cutoff and 1A max charge current
In stock
Battery Charging
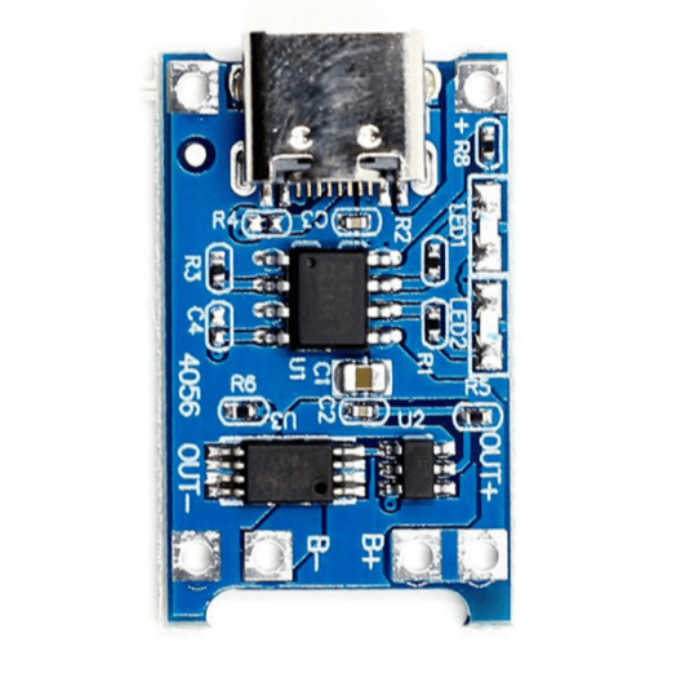
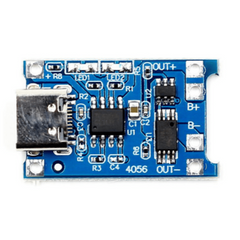
TP4056 Type-C Li-ion Charging Module with Protection
1A single-cell Li-ion/LiPo charger with TP4056 + DW01 over-charge/discharge/current protection, USB-C.
₹40 + 18% GST
SKU: BOTBIT-PWR-09 · Best for: DIY power banks and portable USB power sources
Overview
About TP4056 Type-C Li-ion Charging Module with Protection.
The TP4056 Type-C module is the go-to single-cell lithium charger for makers across India. It combines the TP4056 constant-current/constant-voltage charge controller with a DW01 protection IC and an FS8205A dual MOSFET, giving you a complete charge-and-protect circuit on one small red PCB. A modern USB-C input replaces the old micro-USB, so you can power it from a phone charger, laptop or power bank.
It charges any standard 3.7V Li-ion or LiPo cell (18650, pouch cells, 14500, etc.) at up to 1A with a proper 4.2V cutoff, and the on-board protection prevents over-charge, over-discharge, over-current and short circuits. Two LEDs make the state obvious: red while charging, blue/green when full.
At around Rs 40 it is one of the cheapest ways to add safe rechargeable Li-ion power to a project, which is why it appears in almost every DIY power bank, portable IoT node and battery-backed Arduino/ESP build.
Key features
Why it stands out.
USB Type-C input (reversible connector) plus solder pads for external supply
On-board DW01 + FS8205A protection: over-charge, over-discharge, over-current and short-circuit
Dual status LEDs: red = charging, blue/green = charge complete
Programmable charge current via a single R3 (Rprog) resistor
Compact ~26 x 17 mm PCB with clearly labelled B+/B-/OUT+/OUT- pads
Specifications
Selection facts.
| Charger IC | TP4056 (linear Li-ion charger) |
|---|---|
| Protection IC | DW01 + FS8205A dual MOSFET |
| Input connector | USB Type-C (also solder pads) |
| Input voltage | 4.5V - 5.5V DC |
| Charge current | Up to 1A (set by Rprog, default ~1000mA) |
| Charge cut-off voltage | 4.2V ± 1% |
| Over-discharge cut-off | ~2.5V |
| Over-current / short-circuit | ~3A trip via DW01/FS8205A |
| Cell type | Single-cell 3.7V Li-ion / LiPo (1S) |
| Board size | Approx. 26 x 17 x 4 mm |
Applications
Where it is used.
- DIY power banks and portable USB power sources
- Battery backup for ESP8266/ESP32 and Arduino IoT nodes
- Rechargeable LED torches, lamps and wearable projects
- Solar-charged sensor nodes and garden/outdoor electronics
- Robotics and RC projects running on a single Li-ion cell
- Recharging 18650 cells salvaged from old laptop packs
Buying guide
How to choose.
Buy this version (with protection) rather than the bare TP4056-only board whenever the cell will actually power a load - the DW01/FS8205A stage stops your cell from being drained below a safe voltage. Use the OUT+/OUT- pads to feed your circuit and B+/B- to connect the cell.
It is a 1-cell (1S) charger only - do not use it for 2S/3S packs or for LiFePO4 (which needs a 3.6V cutoff). For faster or slower charging, change the Rprog resistor (R3): larger resistor = lower current. Keep charge current at or below your cell's rated value.
Pair it with an 18650 cell (BOTBIT-PWR-10), a battery holder (BOTBIT-PWR-11) and a small boost converter if your project needs 5V. A USB-C cable and any 5V/1A phone charger completes the setup.
FAQ
Common questions.
Does this board have battery protection or is it the plain TP4056 version?
This is the protected version - it carries the DW01 protection IC and FS8205A dual MOSFET, so it guards against over-charge, over-discharge, over-current and short circuit. Use the OUT+/OUT- pads for your load to get that protection.
What is the difference between the B+/B- and OUT+/OUT- pads?
B+ and B- connect to the battery. OUT+ and OUT- feed your circuit through the protection MOSFETs. Always take load power from OUT, not directly from the cell, so the over-discharge cut-off can work.
Can I charge two 18650 cells with it?
Only if they are wired in parallel (still 3.7V, 1S). It cannot charge cells in series (2S/3S) - series packs need a multi-cell balance charger.
How do I change the charge current?
Replace the Rprog resistor (R3). Common values: 1.2k = ~1000mA, 2k = ~580mA, 5k = ~250mA. Lower current is gentler on small pouch cells.
What powers it and what is in the box?
Any 5V USB-C source (phone charger, laptop, power bank) drives it. You receive the bare charging module only - the cell, holder and USB-C cable are bought separately.
More in Power & Prototyping
Related hardware.
Battery Charging
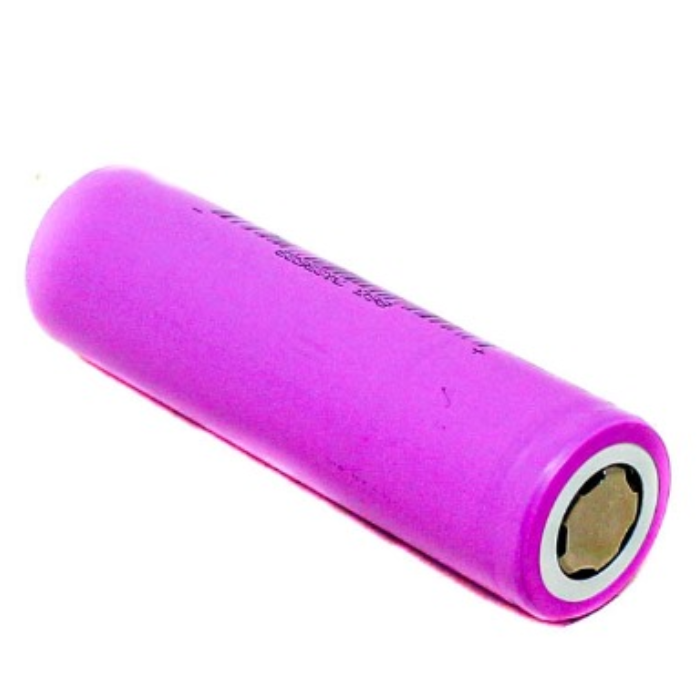
18650 3.7V 2500mAh Li-Ion Rechargeable Cell
3.7V 2500mAh 18650 lithium-ion cell for battery packs, power banks and DIY projects.
₹90 + 18% GST
Battery Charging
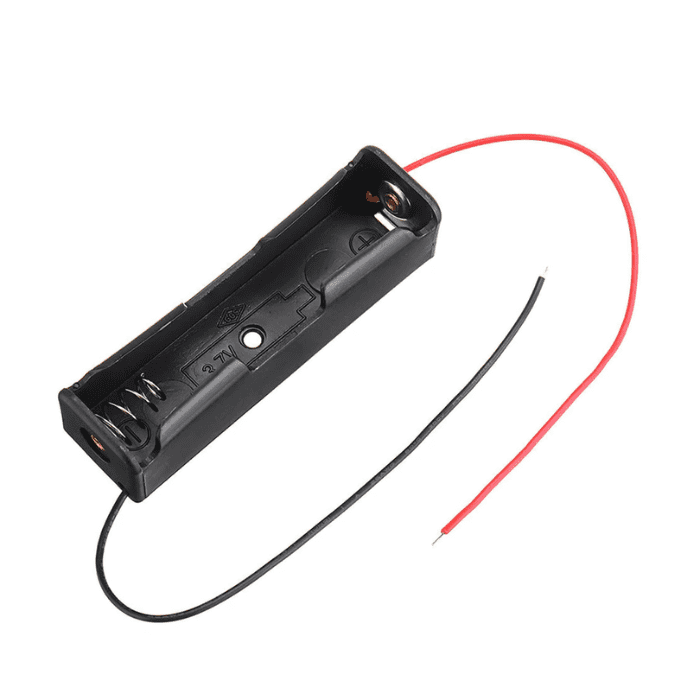
18650 Battery Holder (Single/Dual Cell)
Plastic snap-in 18650 cell holder with solder tabs/wire leads for battery packs.
₹30 + 18% GST
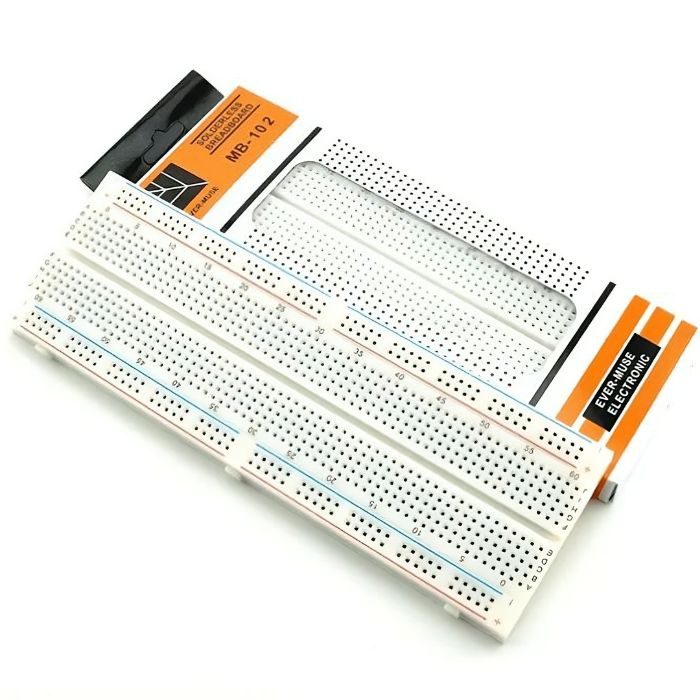
Breadboards Jumpers
MB102 830 Points Solderless Breadboard
Full-size 830 tie-point solderless prototyping breadboard with power rails, accepts 20-29 AWG wire.
₹90 + 18% GST
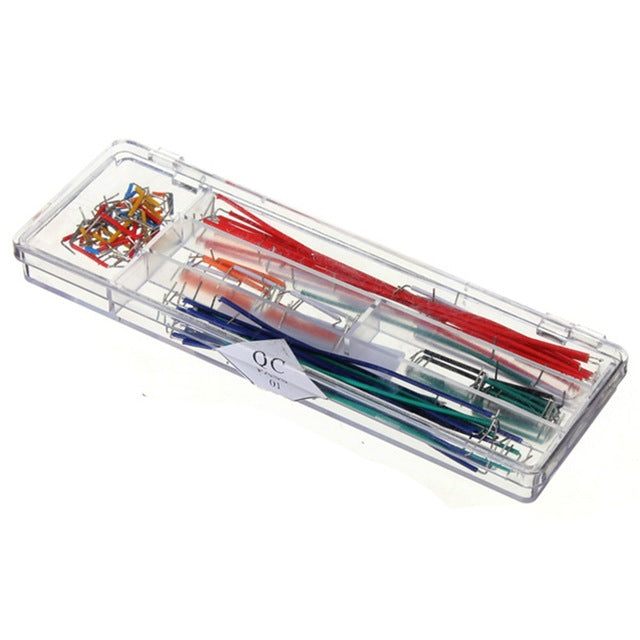
Breadboards Jumpers
140pcs U-Shape Solderless Breadboard Jumper Wire Kit
140 pre-formed solid-core jumper wires in 14 lengths for clean breadboard wiring.
₹130 + 18% GST
You may also need
Pairs well with.
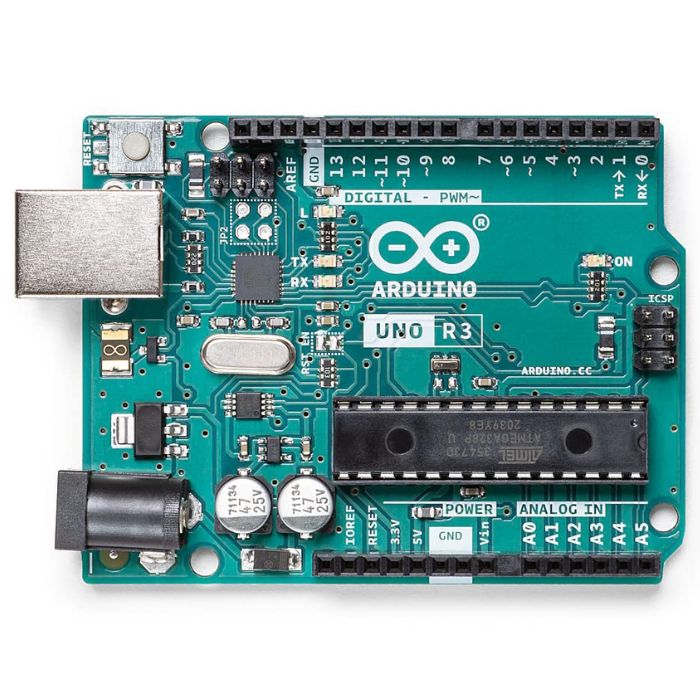
Arduino Boards
Arduino Uno R3
The classic ATmega328P 8-bit microcontroller board, a popular beginner prototyping platform with 14 digital and 6 analog I/O pins.
₹799 + 18% GST
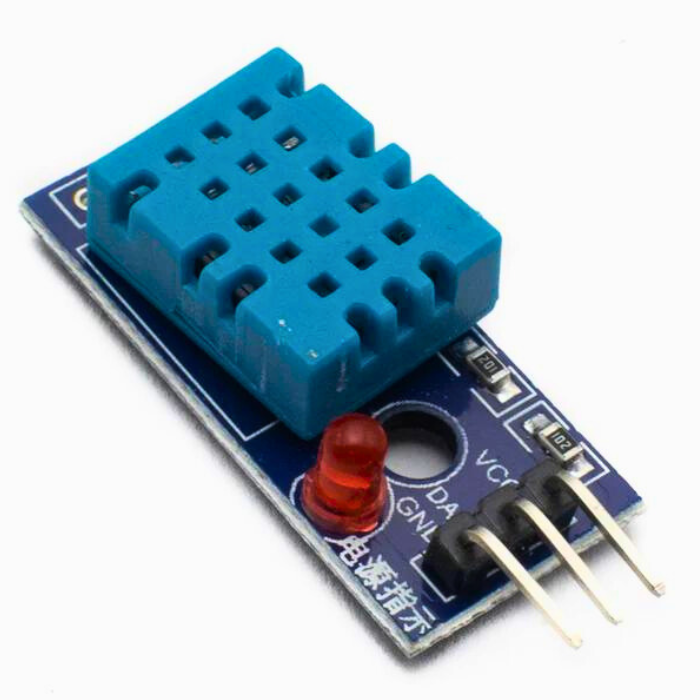
Environment
DHT11 Digital Temperature and Humidity Sensor Module
Low-cost single-wire digital temperature (0-50C) and humidity (20-90% RH) sensor, the default beginner Arduino sensor.
₹60 + 18% GST